A Step by Step Homeowner’s Guide
What’s the right order of operations for a kitchen remodel is one of the most common and important questions homeowners ask before starting kitchen remodeling projects. A kitchen is not just another room in the house. It is a highly functional space where plumbing, wiring, cabinets, countertops, flooring, appliances, and walls all intersect. When a kitchen remodel is done out of order, mistakes happen, money is wasted, and frustration follows. When the process is handled correctly, the result is a new kitchen that functions beautifully and feels like the heart of the home.
This guide explains the correct order of operations for a kitchen remodel in 2025. It is written for homeowners planning a kitchen renovation, whether it is a modest update or a major kitchen remodel. Each stage builds on the previous one, and understanding this process helps you plan better, manage expectations, and work effectively with a general contractor.
Why the Order of Operations Matters in a Kitchen Remodel
The order of operations is the backbone of a successful renovation project. Kitchen remodeling projects involve many moving parts that must happen in a specific sequence. Plumbing cannot be finished before walls are opened. Installing countertops cannot happen before cabinet installation. New flooring installed too early can be damaged during demolition or installation of other items.
When the order is wrong, common problems include failed inspections, delays, material damage, and unnecessary spending. Homeowners often try to save money by skipping steps or changing the plan mid project, but this usually leads to more cost in the long run. A clear plan and the right sequence help manage the project efficiently and avoid costly mistake after mistake.
Overview: The Correct Kitchen Remodel Sequence
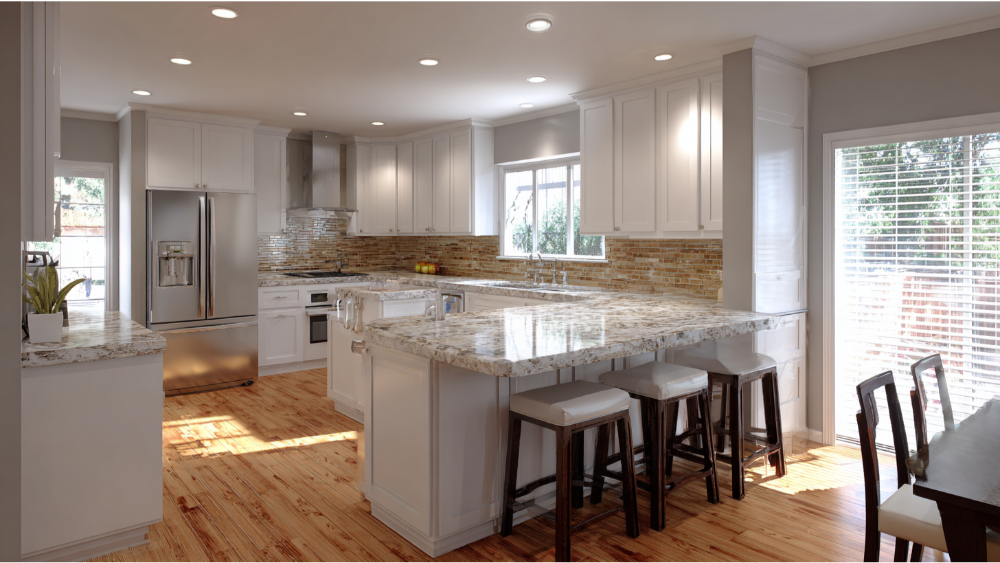
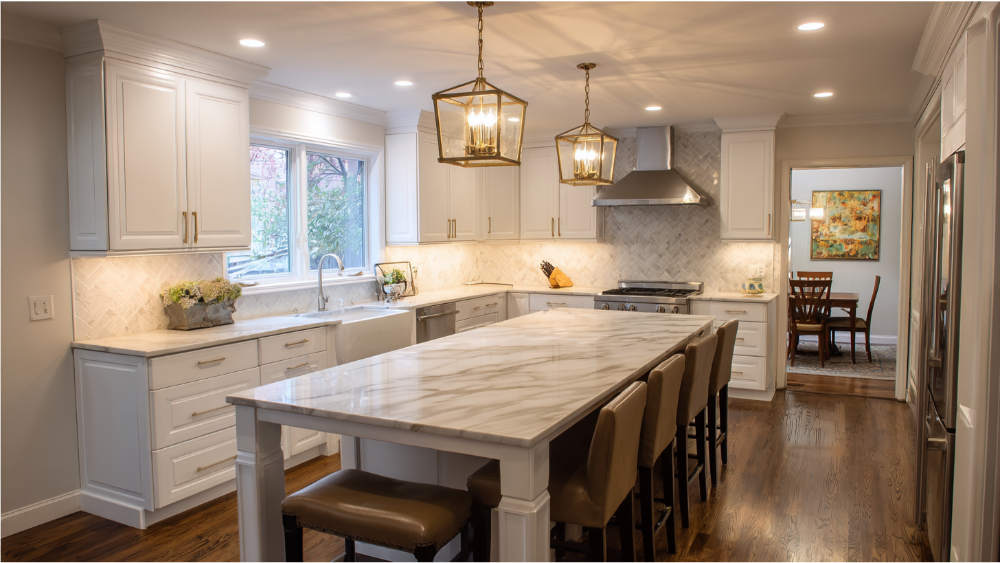
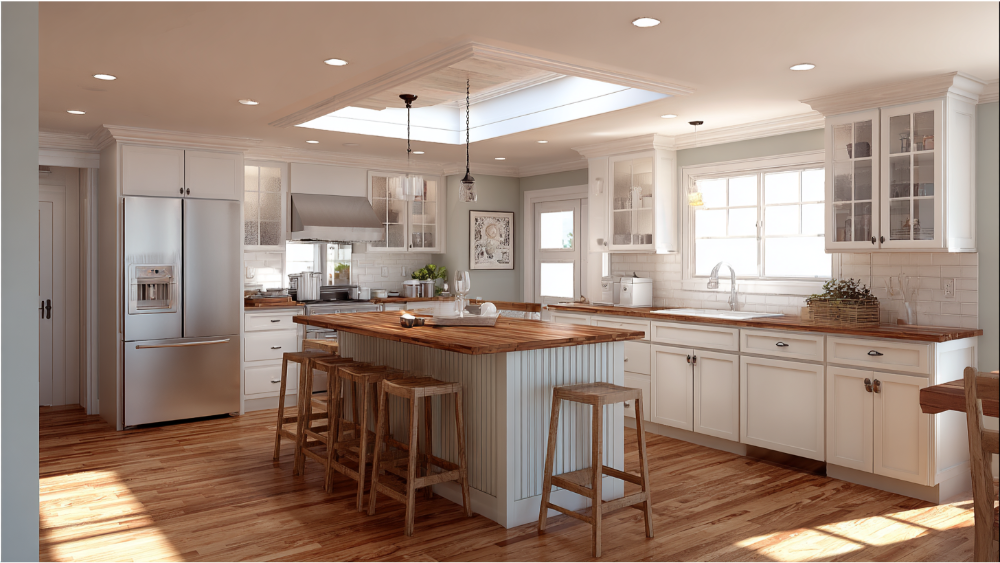
A kitchen remodel follows a structured process. While every kitchen renovation is unique, the basic steps remain the same across most homes. The project begins with planning and design, then moves into permits and preparation. Demolition follows, then structural changes if needed. Next comes plumbing work, wiring, and other rough systems. After that, walls are closed with drywall, new flooring is addressed, cabinets are installed, and installing countertops follows. The project finishes with appliances, fixtures, final touches, and inspections. Understanding this sequence helps homeowners know what to expect at each stage.
Step 1 | Planning, Design, and Budget Alignment
The first step in any kitchen remodel is planning. This stage sets the direction for the entire project. Homeowners must decide how the kitchen will look, how the space will function, and how much money they are prepared to spend. This is where you determine whether you are updating an old kitchen or creating a completely new kitchen layout.
During planning, you choose cabinets, countertops, flooring, appliances, fixtures, and materials. Designers and professionals help create a layout that works with the room and improves flow. Appliance placement, including the refrigerator, stove, sink, and dishwasher, must be decided early because it affects plumbing and wiring. A realistic budget is established, including a contingency to cover unexpected issues that may happen once demolition begins. A strong plan is the foundation of a complete and successful remodel.
Step 2 | Permits, Engineering, and Pre Construction Preparation
Once the plan is finalized, the project moves into preparation. Permits are required for most kitchen renovation work involving plumbing, wiring, gas, windows, or structural changes. Engineering may be needed if walls are removed or loads are altered. This stage is where the general contractor coordinates schedules, orders materials, and prepares the house for construction.
Preparing the home includes protecting other rooms, setting up dust control, and planning how homeowners will cook and live during the renovation. Taking time here helps the project begin smoothly and prevents delays later. Skipping permits or rushing preparation is a common mistake that leads to inspection problems and added cost.
Step 3 | Demolition of the Old Kitchen
Demolition is where homeowners finally see visible progress. The old kitchen is removed to make way for the new kitchen. This includes taking out old cabinets, countertops, appliances, flooring, and sometimes drywall. Demolition must be controlled and intentional. The goal is to get rid of what needs replacing while protecting structural elements and systems that will remain.
This stage often reveals hidden issues such as outdated plumbing, damaged wiring, or problems inside walls. Discovering these early allows the contractor to adjust the plan and manage the project properly. Demolition sets the stage for everything that follows, so it must be done carefully.
Step 4 | Structural Changes and Framing
If the renovation project includes removing or moving walls, this work happens immediately after demolition. Structural changes may include opening up the kitchen to another room, adding beams, modifying windows, or adjusting door openings. All framing work must be complete before plumbing or wiring begins.
This stage defines the final shape of the space. It determines ceiling heights, wall locations, and how the kitchen connects to the rest of the house. Doing structural work at the correct point prevents errors later and ensures the kitchen meets building standards.
Step 5 | Rough Plumbing, Wiring, and Mechanical Work
Rough plumbing and wiring are some of the most important stages in a kitchen remodel. This is where pipes, drains, gas lines, electrical wiring, and ventilation are installed behind the walls. Plumbing work includes water lines, drains, and connections for the sink, dishwasher, refrigerator, and stove. Wiring includes outlets, lighting, appliance circuits, and switches.
Everything at this stage is based on the plan created earlier. If appliance locations change later, it can be expensive to fix. Inspections typically happen during this stage before walls are closed. Errors here can delay the project and increase money spent, which is why experienced professionals are critical.
Step 6 | Insulation, Drywall, and Wall Preparation
After rough systems are approved, insulation is installed where required, and drywall is hung. This step closes the walls and begins transforming the space from a construction zone into a room again. Drywall is taped, textured, and prepared for paint.
The condition of the walls matters greatly because cabinets and countertops rely on straight, solid surfaces. Poor drywall work can lead to alignment issues during cabinet installation. Taking time here ensures a smoother installation process later.
Step 7 | New Flooring Installation and Timing
Flooring is one of the most debated stages in a kitchen remodel. The correct timing depends on the type of flooring selected. Tile and some types of new flooring are often laid before cabinets to create a continuous surface. Other flooring materials are installed after cabinets to allow for expansion.
Flooring must be coordinated carefully with cabinet installation and appliances. Installing flooring too early can result in damage during construction. Installing it too late can make installation difficult. This stage requires clear communication and planning to avoid a common mistake that many homeowners regret.
Step 8 | Cabinet Installation
Cabinet installation is a major milestone in any kitchen renovation. Cabinets define the layout and storage of the kitchen. Base cabinets, wall cabinets, and island cabinets are leveled, secured, and aligned. Precision is critical because countertops, appliances, and fixtures depend on accurate cabinet placement.
Cabinets are installed after walls are finished and flooring timing is resolved. Poor cabinet installation can affect installing countertops and cause appliances to fit incorrectly. This stage requires skilled professionals who understand how cabinets interact with walls, flooring, and the overall space.
Step 9 | Installing Countertops
Installing countertops happens only after cabinets are fully installed. Countertops must be measured precisely, especially for stone or composite materials. Templates are created to match the cabinets exactly, including cutouts for the sink, stove, and fixtures.
Fabrication can take time, but once countertops are installed, the kitchen begins to look complete. Countertops are both functional and visual focal points, and proper installation ensures durability and long term performance.
Step 10 | Finish Plumbing, Electrical, and Appliance Installation

With countertops in place, finish plumbing and electrical work can be completed. The sink is installed and connected, faucets and fixtures are mounted, and plumbing is tested. Electrical fixtures, lighting, and switches are installed and wired. Appliances such as the refrigerator, stove, dishwasher, and microwave are set in place and connected.
New appliances must be installed according to manufacturer requirements. This stage brings the kitchen back to life and allows homeowners to begin using the space again, even if some final details remain.
Step 11 | Backsplash, Trim, and Final Touches
Backsplashes are installed after countertops to ensure clean lines and proper alignment. Tile work at this stage adds personality and style to the kitchen. Trim, toe kicks, and finish carpentry follow. Final paint touch ups, caulking, and sealing are completed.
These final touches may seem small, but they have a big impact on how complete and polished the kitchen feels. Rushing this stage is a mistake that can detract from the overall renovation.
Step 12 | Final Inspection, Walkthrough, and Project Completion
The last stage of the kitchen remodel is inspection and walkthrough. Any required inspections are completed to confirm code compliance. The contractor reviews the project with the homeowner, addressing any remaining items. This is the point where the project is officially complete.
A thorough walkthrough ensures expectations are met and the renovation delivers the dream kitchen the homeowner envisioned. It is also the time to review maintenance, warranties, and care instructions for materials and appliances.
Common Kitchen Remodel Sequencing Mistakes to Avoid
One common mistake is starting demolition without a complete plan. Another is ordering cabinets or countertops too late, which delays the project. Installing flooring at the wrong stage is also a frequent error. Hiring multiple contractors without coordination can make it difficult to manage the process. Avoiding these mistakes helps save money and reduce stress.
Why Working With a Full Service General Contractor Matters
A general contractor manages every stage of the kitchen remodel, from planning through completion. This oversight helps ensure the correct order of operations is followed and problems are addressed quickly. For homeowners, working with a single contractor simplifies communication, improves efficiency, and helps the project stay on track.
Kitchen Remodel FAQs
How long does a kitchen remodel take?
Most kitchen remodeling projects take eight to twelve weeks once construction begins, depending on scope, materials, and inspections.
Can homeowners stay in the house during the remodel?
Yes, many homeowners stay in the house, but cooking may be limited. Planning temporary solutions helps make the process manageable.
What is the first step in a kitchen renovation?
The first step is planning and design. A clear plan determines everything that happens next.
How can homeowners save money during a remodel?
Planning ahead, avoiding last minute changes, and hiring experienced professionals help control cost and prevent mistakes.
Final Thoughts: Planning the Right Way From Day One
A kitchen remodel is a complex process with many stages that must happen in the right order. Understanding what’s the right order of operations for a kitchen remodel helps homeowners prepare, avoid mistakes, and feel confident throughout the renovation. With the right plan, skilled professionals, and careful execution, a kitchen renovation can transform an old kitchen into a functional, beautiful new kitchen that adds value and enjoyment for years to come.