Mastering Siding Installation

Installing new siding is one of the most valuable improvements you can make to your home. When done correctly, it protects your house from the elements, improves energy efficiency, and enhances curb appeal. At Capital Construction, our team understands how to install siding with precision and care, ensuring every wall, corner, and trim piece is installed properly and built to last. This detailed guide explains each step of the process, focusing on how to install vinyl siding while also covering important techniques that apply to other exterior siding materials like fiber cement siding.
Why Proper Siding Installation Matters
Proper installation protects your home from water intrusion and damage caused by wind or temperature changes. A well-installed exterior siding system prevents rotting wood, warped panels, and energy loss. Incorrect installation, on the other hand, can cause panels to buckle, loosen, or separate over time. That’s why professional workmanship and attention to detail are essential.
Choosing the Right Siding for Your Home
When planning to install siding, the first step is choosing the best material for your climate, style, and budget. Vinyl siding remains one of the most popular choices due to its durability and low maintenance. It resists moisture, fading, and insects, making it ideal for homeowners who want long-lasting beauty without constant upkeep. Fiber cement siding is another excellent option for those who prefer a natural look with added fire resistance and strength. Whether you are updating old siding or starting new construction, your selection should balance visual appeal and performance.
Tools and Preparation Before You Install Siding
Before you begin, gather all the proper tools and materials to ensure a smooth installation. You’ll need a tape measure, level, chalk line, utility knife, circular saw, and tin snips. For cutting vinyl siding, a fine tooth plywood blade on your circular saw or a table saw works best. Make sure you have fasteners approved for siding installation and check that your wall surface is clean, dry, and flat. If you discover loose boards or damaged sheathing beneath the existing siding, replace them before continuing. Having all your proper tools and quality materials ready will make the project more efficient and help you achieve a professional result.
Inspect and Prepare the Wall Surface

Start by removing any old siding, trim, and nails from your walls. Check for signs of rot, moisture, or pest damage. Replace any rotting wood with solid material and verify that the wall surface is even and stable. For homes with uneven sheathing, furring strips can create a flat surface for the new siding panels. If you’re installing over existing siding, confirm it’s in good shape, well-secured, and meets local building codes. This inspection is vital for proper installation and long-term performance.
Install the Moisture Barrier and Flashing
A house wrap or moisture barrier is your home’s secondary defense against water. Roll the barrier horizontally, overlapping seams by at least six inches, and seal with construction tape. Secure the wrap with staples or cap nails and add flashing around windows and doors or other openings. Proper installation of the house wrap prevents trapped moisture, which can lead to mold or structural issues.
Planning and Measuring the Layout
Using a chalk line, mark a reference point for your starter strip at the base of the wall. Ensure it’s perfectly level, as this sets the foundation for the entire installation. Measure the width and height of each wall and calculate how many vinyl siding panels you’ll need, including a 10–15% waste margin for cuts and overlaps. Remember to plan for trim pieces around windows, doors, and corners. Always review local regulations and local building codes to confirm compliance before you start attaching panels.
Step-by-Step Guide to Install Vinyl Siding
Step 1: Install Starter Strips
Align the starter strip with your chalk line along the lower portion of the wall. Fasten it securely but don’t drive the nails tight, as panels need room for movement during expansion and contraction. Make sure the strip is straight, since it determines how the rest of the siding panels will line up. Use more than one length of starter strips if needed for the width of your wall, overlapping them slightly at the joints for a seamless look.
Step 2: Install Corner Posts and J Channels
Once the starter strips are installed, move to the corners. Attach corner posts vertically, keeping them perfectly plumb. Use inside corner posts for interior wall intersections and outside posts for the exterior edges. Leave a small gap at the top edge to permit expansion. Around windows and doors, install j channels or utility trim to cover the panel edges and protect against water intrusion. These trim accessories create clean transitions and give the siding a polished finish.
Step 3: Begin Installing Vinyl Siding Panels
Start at one corner post and work toward the next corner. Hook the bottom of the first panel into the starter strip, then nail through the nail slots in the nailing hem. Place each nail head in the center of the slot and never drive nails tight. This allows movement as vinyl expands and contracts with temperature changes. Maintain consistent spacing and overlap each panel according to manufacturer specifications. When cutting vinyl siding to fit, use a utility knife for small adjustments or a circular saw with a fine tooth saw blade for long cuts. Always cut panels at a proper angle and smooth the cut edge for a professional look.
Step 4: Continue Up the Wall
As you move up the wall, stagger panel joints to avoid visible seams. Keep checking alignment with your level and chalk line. Use nails spaced about every 16 inches, again making sure you don’t nail tight. Each course should lock firmly into the one below it without forcing. When you reach the top edge of the wall, measure and cut the upper panel to fit under the fascia board using utility trim to secure it in place.
Step 5: Trim and Finishing Details
Install all j channels and corner posts before completing your siding installation around windows and doors. For areas where panels meet trim, leave a small gap to allow for expansion and contraction. Add vinyl soffit panels under eaves and overhangs for ventilation and a clean finish. Use utility trim pieces to hold soffit panels securely while maintaining airflow.
Step 6: Final Inspection and Cleanup
Once the entire house is covered, inspect your work carefully. Check that panels are aligned, nails are properly spaced, and no seams are lifting. Verify that corners are straight and that your trim pieces fit tightly. Clean the wall surfaces and remove debris from around the home. A properly completed siding installation should look uniform, smooth, and free from gaps or visible nail heads.
Advanced Siding Installation Tips from Capital Construction
Handle Temperature and Movement Carefully
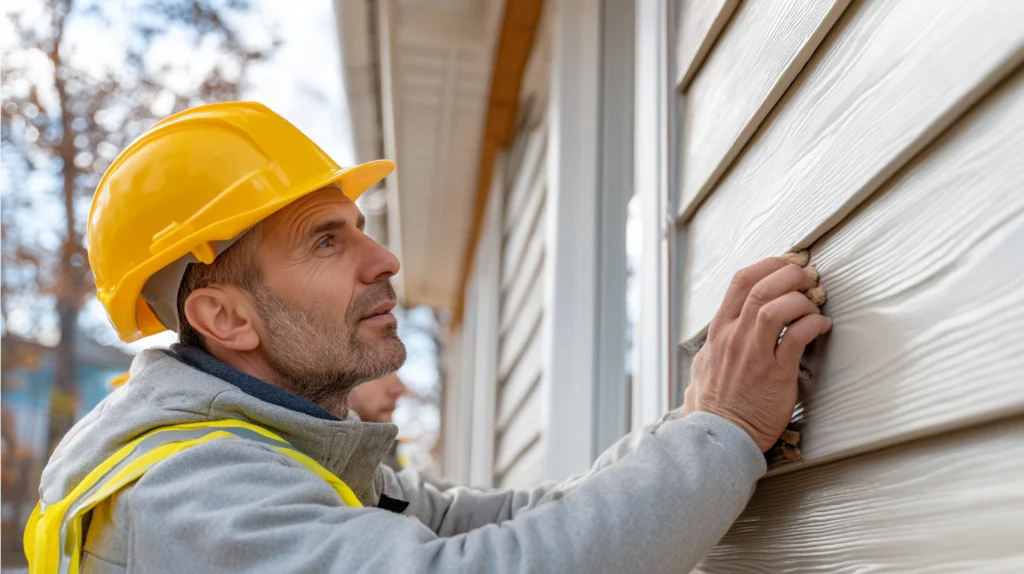
When you install vinyl, remember that vinyl expands and contracts with weather fluctuations. Allow enough clearance in each nail slot and at the ends of panels to prevent buckling. Never force a panel into place, and never drive nails tight. By following these small steps, you’ll keep your vinyl siding installation looking great for years.
Working Around Windows and Doors
When installing vinyl siding around windows and doors, measure precisely and cut panels to fit neatly within j channels or utility trim. Use your tape measure to double-check all cuts and make sure seams are level. Use a utility knife or tin snips to shape the panels and smooth the edges. This attention to detail creates a finished appearance and prevents leaks around other openings.
Cutting and Fitting Vinyl Siding Panels
For clean, professional cuts, use a circular saw with a reverse-mounted plywood blade or a fine tooth cutting tool. Keep hands clear of the blade and always cut on a stable, flat surface. When cutting vinyl siding, mark the panel with your chalk line to ensure accuracy. Cutting at the proper angle helps the panels overlap smoothly and fit snugly into each other.
Preventing Water Damage and Air Leaks
Always make sure that house wrap and flashing are installed correctly before you attach any panels. These layers prevent water infiltration behind the siding and help regulate airflow. Flash above and below windows, doors, and other openings to direct water outward. Never seal the panels so tightly that moisture can’t escape; vinyl siding systems rely on slight ventilation to stay dry and protected.
Professional vs. DIY Siding Installation
Homeowners sometimes attempt to install vinyl siding on their own, but this job requires precision and experience. Misaligned panels, loose trim, or nails driven too tightly can shorten the lifespan of your investment. Capital Construction’s expert installers use proper tools and proven techniques to make sure your siding is installed properly and meets all local building codes. Whether you’re replacing old siding or installing vinyl siding on a new construction project, hiring professionals ensures that your home is protected and beautiful.
Maintaining Your New Vinyl Siding
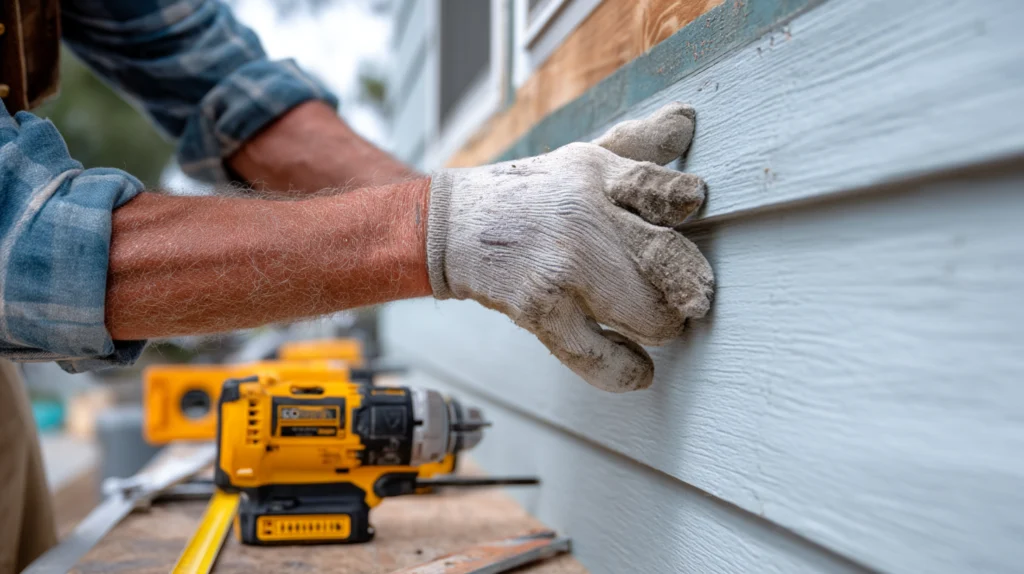
Once your new vinyl siding is installed, regular maintenance keeps it looking its best. Wash panels annually with a soft brush and mild soap to remove dirt and mildew. Inspect corners, j channels, and trim for any loose panels or fasteners. If you notice cracks or panels that have shifted, repair them promptly to maintain a watertight exterior. Avoid using high-pressure washers, which can force water behind the panels.
When to Replace Old Siding
If your old siding shows signs of fading, cracking, or water damage, it may be time for a full replacement. Installing vinyl siding over old materials is sometimes possible, but it depends on the condition of the underlying structure. For the best results, remove existing siding so that the wall surface can be inspected and repaired. Replace any rotted or loose boards before installing the new system. By starting fresh, you guarantee a smoother installation and better long-term results.
Frequently Asked Questions About How to Install Siding
How long does siding installation take?
Most residential siding projects can be completed within one to two weeks, depending on the size of the house and weather conditions.
Can you install vinyl siding over existing siding?
Yes, but only if the old siding is flat and secure. Many professionals recommend full removal to inspect the sheathing and apply proper house wrap and starter strips.
What tools do I need to install vinyl siding?
You’ll need a level, chalk line, tape measure, circular saw, utility knife, and the right fasteners. Always use proper tools to ensure accurate cuts and secure attachment.
How do you cut vinyl siding panels safely?
Use a circular saw with a plywood blade or tin snips. Cut on a stable, flat surface and support the panel to prevent cracking.
What’s the best way to install corner posts?
Attach corner posts securely but don’t nail tight. Leave room for expansion and contraction and check alignment frequently.
How can I tell if my siding was installed properly?
Your siding should look even, flat, and securely attached. There should be uniform gaps at panel ends and smooth alignment around windows and doors. If you see buckling or gaps, contact a professional.
Get Professional Siding Installation from Capital Construction
Learning how to install siding can help homeowners understand the process and appreciate the craftsmanship behind each project. Whether you’re updating old siding or adding curb appeal with new vinyl siding, the results depend on precise measurements, quality materials, and proper installation. At Capital Construction, we bring years of experience, trusted methods, and attention to detail to every home we work on. From the first starter strip to the last corner post, we ensure your siding is installed properly, your walls are protected, and your home looks its best for years to come. Contact our team today to learn more about our professional siding installation services and schedule your free consultation.