Key Takeaway
To avoid bathroom remodel mistakes, lock down your layout, full written scope, specific materials with model numbers, permit responsibility, and a signed contract before demolition begins. Once work starts, never let plumbing, waterproofing, or electrical get covered until verified and photographed. Nearly every costly bathroom renovation failure traces back to one of those two moments. Hidden failures like a leaking shower pan cost far more to fix than any cosmetic regret.
You avoid bathroom remodel mistakes by locking down five things before demolition: the layout, the full written scope, the specific materials and model numbers, who pulls the permits, and a signed contract that covers all of it. Then, once work starts, you refuse to let any hidden work get covered up until the waterproofing, plumbing, electrical, and ventilation have been verified, photographed, and inspected where required. Nearly everything that goes wrong in a bathroom traces back to one of those two moments.
If you’re planning a bathroom renovation right now, you’re probably excited about the dream bathroom in your head and a little uneasy about the process. That’s fair. Here’s what many homeowners discover too late: the big regrets in bathroom renovations usually aren’t taste mistakes. They’re decision-order mistakes, and they turn expensive the second they become irreversible. We’ve sorted them into three tiers below: high-consequence hidden work, decisions that are costly to reverse, and the small daily regrets you live with for years in a space you stand in twice a day.
The 5 Common Mistakes With the Highest Consequences in a Bathroom Remodel
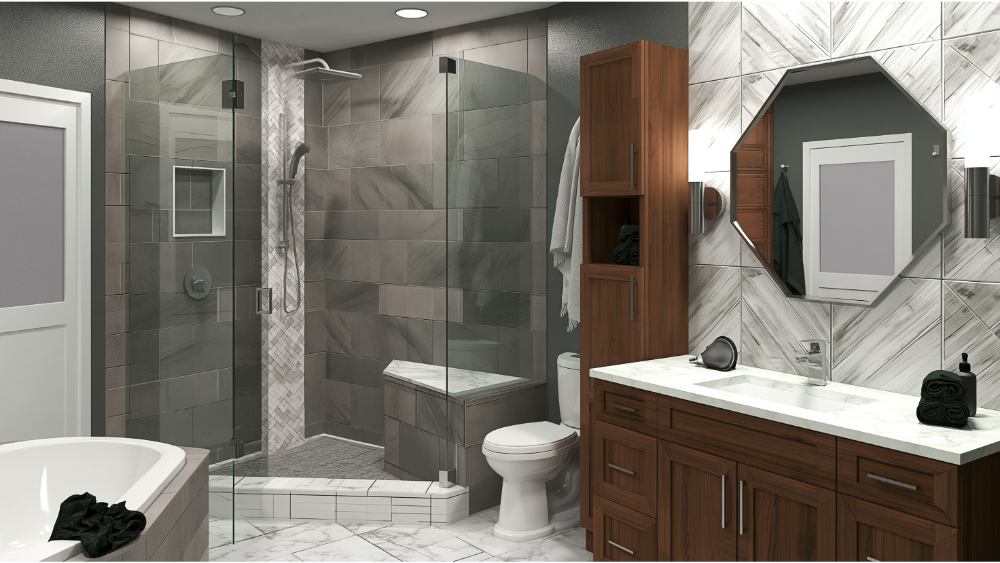
If you only remember five things from this guide, make it these.
- Starting without a complete written scope. Vague agreements become arguments, and they wreck a budget.
- Treating tile and grout as the waterproofing system. They aren’t one.
- Neglecting proper ventilation, drainage, or the right wet-area substrate behind your shower walls. Moisture always finds the weak spot.
- Making layout and fixture decisions without field measurements. Catalogs lie; tape measures don’t.
- Letting hidden work get covered before it’s verified. Once tile is set, discovery gets destructive.
These outrank every cosmetic regret because they cause water damage you can’t see and can’t undo cheaply. A paint color is a weekend. A failed shower pan is a demolition. Beautiful fixtures can’t rescue a shower that leaks behind the tile, and the bathroom remodeling mistakes that hide inside the walls are always the ones that come back.
What to Settle Before You Sign: Contract and Budget Mistakes to Steer Clear Of
The contract stage is where you have the most leverage and the least emotional pressure. Use it. Most of the common pitfalls here are solved with a pen, not a crew.
- Hiring without independently verifying the contractor’s license.
- Accepting a vague scope, or an “allowance” with no product model numbers attached to it.
- Leaving permit responsibility unspoken. Someone has to pull them. Name that person in writing.
- Setting a budget with no contingency line for the unexpected expenses found behind the walls.
- Agreeing to a payment schedule that doesn’t track completed work.
- Relying on verbal promises about anything that costs money.
- Having no written change-order process before the first surprise arrives.
- Never asking who will physically be inside your home each day.
A budget built on a vague scope isn’t a budget. It’s a guess with a number attached. That last bullet matters more than most homeowners realize, too. We built our business around upfront scope, upfront timelines, and upfront costs, and around a simple structural choice: we don’t outsource your project to third parties. Our own craftsmen do the work, so one team answers for every stage of it. California adds its own homeowner protections on contracts and deposits, and we’ve gathered those below.
Planning Mistakes That Derail Bathroom Renovations Before Demolition Day
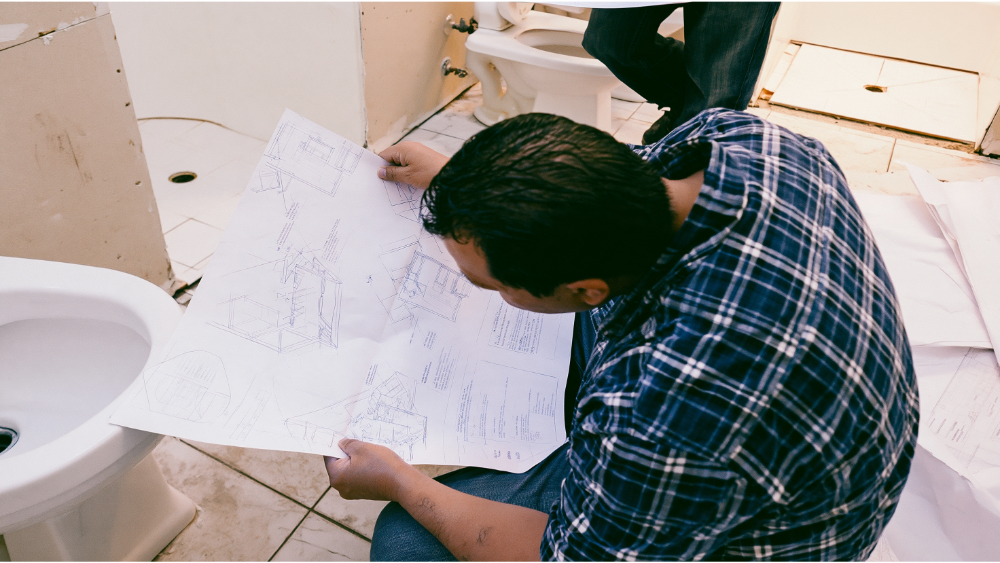
Proper planning starts with how your household actually moves in the morning, not with how the room will photograph. Then work through the practical items:
- Relocating the toilet or shower casually. Moving a fixture means new drain lines, new venting, and floor work underneath. It’s a real cost and time consuming on the schedule, so decide with your eyes open rather than as an afterthought.
- Ordering fixtures before verifying rough-in dimensions. A vanity that’s two inches too wide is a returned vanity and a stalled project. Sinks, tubs, and shower valves all have their own rough-in rules.
- Underestimating lead times. Specialty tile, freestanding tubs, and custom vanities can carry long lead times. A four-week lead time discovered in week three is a schedule problem you created.
- No procurement or storage space plan. Materials should be on site, inspected, and stored dry before demolition, not ordered the week they’re needed.
- No plan for dust containment or for losing the bathroom. Know where everyone is showering before day one.
- Ignoring what an older home might be holding. Lead paint, asbestos-containing flooring or adhesives, mold, hidden structural issues, or existing water damage can all be waiting behind the walls. Suspect materials cannot be identified by sight. Sampling and proper research into your home’s history are how you find out.
If you’re still weighing how much of this you’d take on yourself, our DIY versus professional remodeling guide walks through where the line reasonably falls.
Hidden-Work Mistakes: Waterproofing, Drainage, and Plumbing
Tile and grout shed water. They do not waterproof anything. The actual waterproofing system lives behind and beneath the tile, and it only works if it’s continuous, at inside corners, at pipe penetrations, around niches, over the curb, and at every transition. One gap is the whole story.
Correct one piece of advice you’ll see repeated online: greenboard is not an acceptable substrate for a shower or tub surround. The City of Sacramento’s residential bathroom handout says so directly, and the same logic holds anywhere. Wet bathroom walls need cement board or another approved waterproof backer under the waterproofing layer.
Drainage is the quieter failure. A shower floor that doesn’t slope correctly to the drain holds water, and standing water eventually finds the weakest joint. Plumbing connections inside the walls deserve the same scrutiny, because a slow leak in a wall cavity announces itself months later as water damage on the ceiling below.
The rule: nobody closes the walls or sets tile until you have photographs of the waterproofing, plumbing, and blocking. Our guide to how contractors waterproof bathrooms covers the membranes and methods in detail.
Neglecting Proper Ventilation, the Mistake That Grows Back
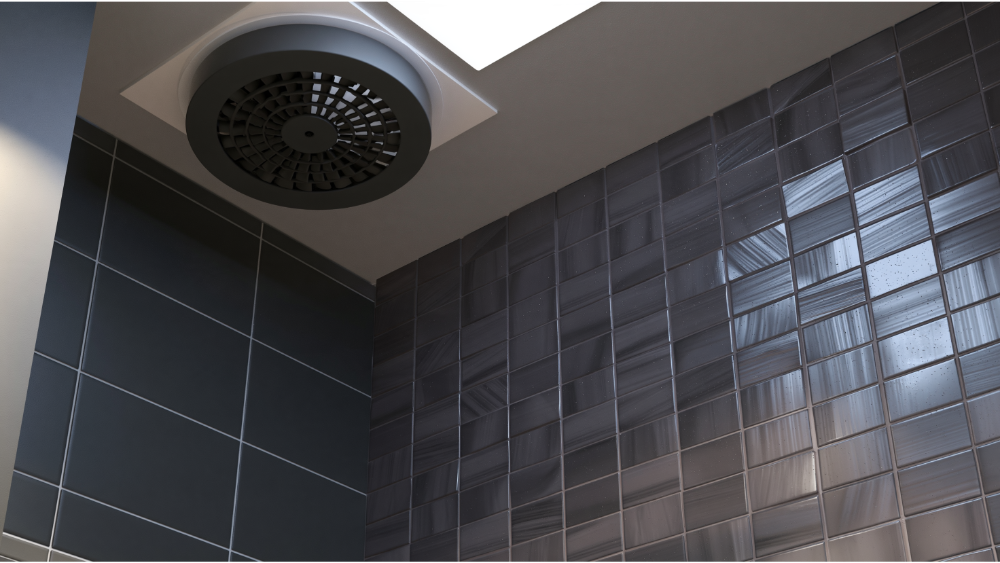
This mistake shows up in three versions. No exhaust fan at all. A fan that’s undersized or has no real control, so it only runs when someone remembers. And the sneakiest one: a fan ducted into the attic instead of outdoors, which simply relocates your moisture problem into the framing above your head.
The EPA frames it plainly, and we agree: moisture control is mold control, because mold growth needs water more than it needs anything else. Exhaust air has to discharge outside the building, away from openings and air inlets, and a humidity-sensing control means the fan runs when the bathroom is actually wet. Peeling paint, a soft patch of drywall, or mildew growth along the ceiling line tells you the room is living with constant moisture. New paint over a moisture problem is a countdown, not a repair. Our bathroom ventilation article goes deeper on sizing and ducting.
Bathroom Layout Mistakes That Create Daily Frustration
- Not enough clear space at the toilet and sink, so the space feels cramped no matter how nice the finishes are.
- Vanity doors, drawers, and shower glass that collide with each other or the entry door.
- A freestanding tub or oversized vanity that overpowers a small bathroom. Double sinks in a narrow room can cost you more counter space than they gain.
- No cleaning access around freestanding tubs and fixtures. You will regret the six inches you can’t reach.
- Valve controls placed where you have to reach through cold water to turn them on.
- No blocking in the walls for future grab bars and towel bars, which is a gift to your future self rather than a medical concession. If you plan to stay in the house for decades, wider doorways are far easier to build now than to retrofit later.
We field-measure before anything gets ordered, every time. For tight footprints, see our small bathroom layout guide, and if you’re deciding between a tub and a walk-in shower, our bathtub selection guide lays out the tradeoffs.
Choosing the Wrong Materials and Surfaces for a Wet Room
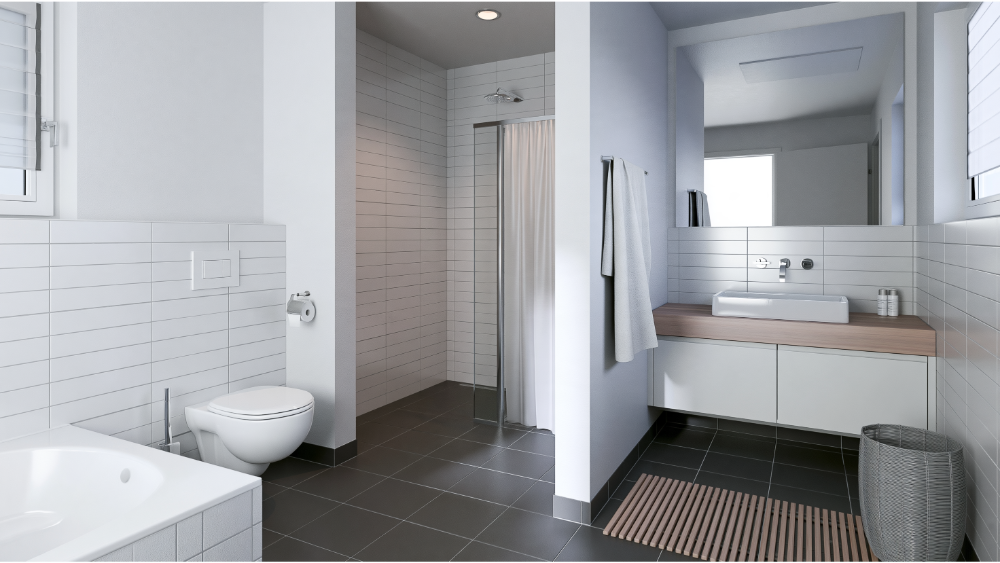
Selecting tile from a photograph or a two-inch chip is how people end up with a floor that reads completely differently in their own light. Ask for a full sample and spend time with it in the actual space, at the time of day you use it most.
Then match the right material to the conditions. Wrong materials in a wet room don’t fail politely. Porcelain and ceramic handle moisture and temperature fluctuations well. Natural stone is beautiful and reactive, so understand the sealing and cleaning requirements before you commit. A wood vanity set where it catches daily shower spray will telegraph that decision within a few years. Large format tiles need a flatter substrate than small mosaics, so the underlayment plan has to match the tile you picked. On slip resistance, here’s a correction worth making: for interior wet bathroom floors, the current ANSI A326.3 criterion is a measured wet DCOF of 0.42 or greater, not less. The Tile Council of North America also cautions that DCOF alone doesn’t make a floor safe. Surface texture, drainage, maintenance, and footwear all matter.
Wall materials deserve the same thought. Bathroom walls outside the shower still take steam, splash, and scrubbing, so paint sheen, backer type, and caulk selection all belong in the plan rather than in a last-minute decision. Grout joints, trim pieces, transitions, and exposed edges are where rushed material decisions become visible. That’s part of why we keep an on-site showroom: seeing tile, wall materials, cabinets, countertops, sinks, and fixtures together, in hand, before anything is ordered settles questions that renderings can’t. You’re the creative director of your own project. Our job is to execute your vision with flawless details.
Lighting and Storage Space: The Regrets Homeowners Live With Every Day
A single ceiling fixture is the most common lighting mistake in any bathroom. It lights the top of your head and throws shadows across your face when you’re shaving or applying makeup. Good bathroom lighting works in layers: ambient lighting for the room, task lighting at eye level flanking or surrounding the mirror, and a little accent lighting where the space supports it. Decide the lighting plan, switch locations, and outlet locations during design, not after the drywall is up.
A few lighting details are worth settling early. Sconces at roughly eye height on either side of the mirror beat a single bar above it. Mixing warm and cool color temperatures in one small room reads as a mistake even when nobody can name why. Dimmers make bright ambient lighting bearable at 5 a.m. Recessed lighting over a shower needs a wet-rated trim. And if the room has a window, plan artificial lighting around how much daylight the space gets in January, not in July.
Storage planned after the vanity is installed is storage you don’t get. Work functional storage space into the drawings: vanity drawer configuration, recessed medicine cabinets set between studs, tall cabinets that use vertical wall instead of floor, shower niches sized for the bottles you actually own, towel storage within reach of the shower, and an outlet where a toothbrush or hair tool genuinely lives. In a small room, the storage space you recover inside the walls is often the difference between calm and crowded.
When to Work With a Professional: Interior Designers, Contractors, and Building Codes
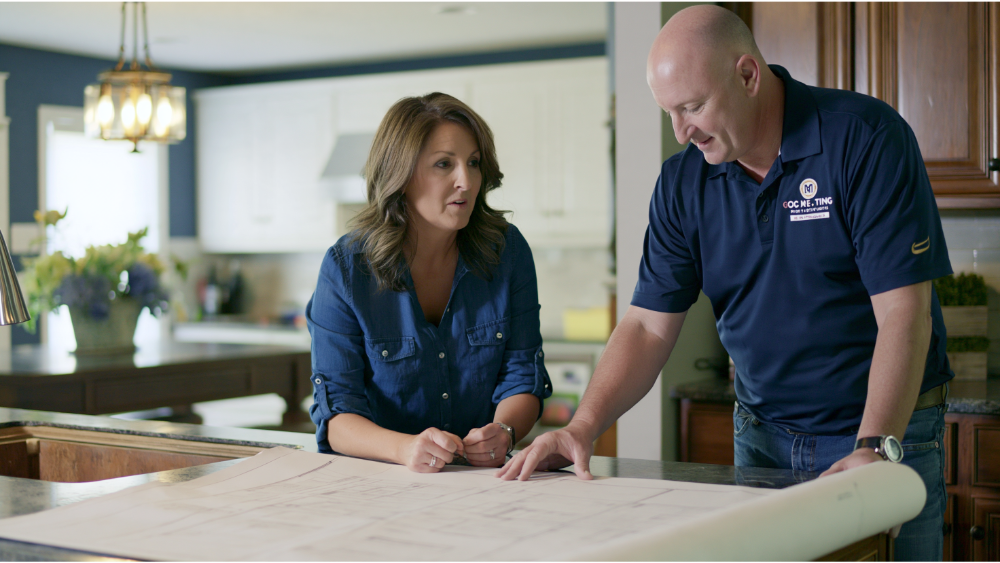
Some homeowners bring in interior designers early, and for complex bathroom renovations that can be money well spent. Interior designers are excellent at resolving proportion, color, and lighting layers before anything is ordered. What they typically don’t carry is responsibility for permits, building codes, and what happens behind the tile. That’s a contractor’s job.
Building codes change, and the version in effect on your permit date is the one that governs clearances, ventilation rates, GFCI protection, and shower substrates. When you work with a professional who pulls permits weekly in your jurisdiction, code compliance stops being your homework. Work with a professional team that will put scope, budget, and selections in writing, and most of the common bathroom remodeling mistakes in this guide never get the chance to happen.
During Construction and at the Final Walkthrough: What to Verify in Your New Bathroom
Mistakes homeowners make mid-project: approving changes verbally, paying ahead of completed work, losing track of which selections were confirmed, skipping photos of plumbing and blocking before walls close, brushing off early signs of a leak or damaged framing, letting schedule pressure override curing or inspection steps, which is cutting corners by another name, and having no single accountable point of contact.
Before you make the final payment on your new bathroom, walk the room with this list:
- Run every faucet, the shower, and the toilet.
- Watch the drains and look underneath for leaks.
- Test each GFCI receptacle.
- Confirm the exhaust fan runs and discharges outdoors.
- Open every door, drawer, and shower panel through full travel.
- Test all lighting controls and dimmers.
- Inspect grout lines, sealant, transitions, and exposed edges.
- Collect permit sign-offs, warranties, care instructions, and spare tile.
- Put any unresolved item in writing before closeout.
A Quick Note for California and Sacramento Homeowners
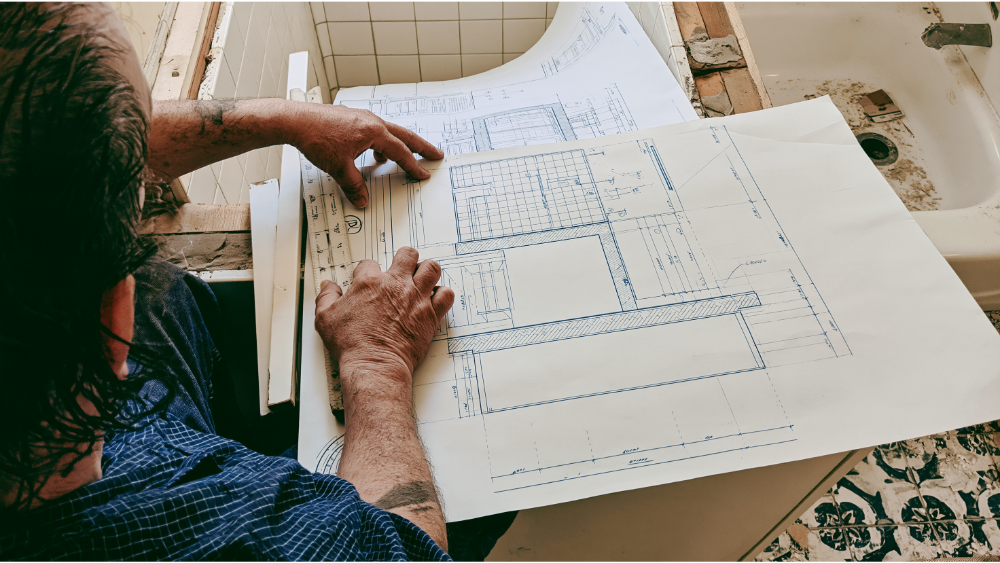
- The 2025 California Building Standards Code (Title 24) took effect January 1, 2026, per the California Building Standards Commission.
- The City of Sacramento can process many in-kind bathroom renovations as a Minor Bathroom Remodel Permit without plans. No plans required does not mean no permit required. Creating or relocating openings in perimeter walls triggers full plan review.
- Confirm whether your address sits in the City, unincorporated Sacramento County, or another jurisdiction. The building codes are enforced differently.
- CSLB requires a written contract for home improvement work over $500, written change orders signed before the changed work happens, and caps the standard down payment at $1,000 or 10% of the contract price, whichever is less.
- Homes built before 1978 fall under EPA lead-safe renovation requirements, and disturbing lead paint without containment is a health issue, not a paperwork issue.
- Verify any contractor through CSLB’s online license check rather than trusting a number printed in an ad.
Capital Construction operates under CA Contractor License #793440. Our permits and inspections article covers the local process in more depth.
Frequently Asked Questions
What bathroom renovation mistakes do contractors see most often?
Starting without a finalized written scope. Everything downstream, budget, schedule, and material decisions, depends on that document existing before the first wall comes down, and the most common issues we get called in to repair trace straight back to it.
Do I need a permit for a bathroom remodel?
Usually, yes, if you’re touching plumbing fixtures, electrical, or walls and floor finishes. Some jurisdictions process straightforward in-kind bathroom renovations without plans, but that still requires a permit and field verification.
Is tile and grout enough to waterproof a shower?
No. Grout is porous and tile joints move. A proper waterproofing membrane or system sits behind and beneath the tile, continuous at corners, penetrations, and transitions.
Should I keep my plumbing fixtures in their existing locations?
When the layout works, yes. Relocating a toilet or shower means new drain lines, venting, and floor work, which meaningfully increases both cost and complexity.
What should I inspect before making the final payment?
Run every fixture, test GFCIs and the exhaust fan, open all doors and drawers, confirm the lighting controls work, inspect grout and sealant, and collect permit sign-offs, warranties, and care instructions. Document anything unresolved in writing.
Your Dream Bathroom, Protected From the First Conversation to the Final Touches
Beautiful bathrooms are the easy part. What you never see decides whether they stay beautiful and functional for the next twenty years. We’re family-owned and proudly rooted in Sacramento, our own craftsmen handle every stage, and our showroom and countertop fabrication shop let you confirm wall materials, surfaces, and real field dimensions before anything is cut. Schedule a FREE, no-obligation estimate: call (916) 277-8282 or email design@capitalconstruction.com. CA Contractor License #793440.